

How To Repair Traxxas Shocks
Few components piece of work equally hard on an off-route vehicle as the shocks. Whether they're countering cornering loads, softening bump forces, or soaking up jump landings, the shocks are always pumping away. That's why it'south important to keep them in tip-acme shape with fresh seals and fluid. Rebuilding them is piece of cake and volition give your car that merely-built feeling on the track.
Step 1: Remove & inspect the shocks
Wipe the shocks down then you tin can requite them a good eyeballing. The shortlist of things to await for includes weeping around the seals, aptitude or scored shafts, dings in the shock trunk and cracked rod ends. Any of these bug are cause for replacement of the damaged parts.
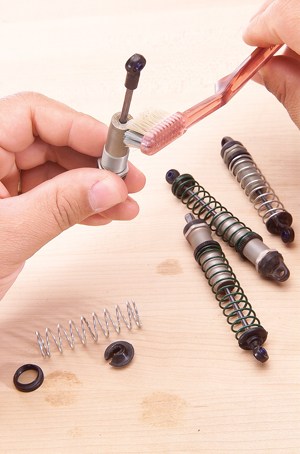
A toothbrush is the perfect tool for cleaning shocks.
Step 2: Detach & make clean the parts
Bleed the shock fluid and completely disassemble the shock, including the piston and shaft. If y'all have Losi shocks, pop open the seal cartridge and remove the O-rings. Roll the shaft on a perfectly flat surface; if it's bent, you lot'll experience it wobble (and you should toss it). Toss the O-rings regardless of the condition they're in; new rings are inexpensive leak insurance. Spray everything downward with denatured booze, and you're prepare to rebuild.
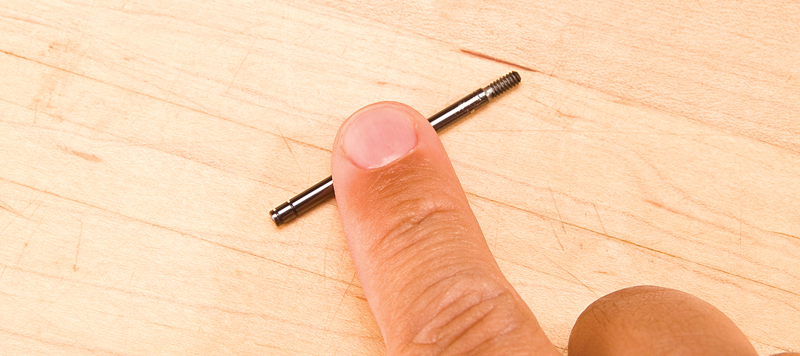
Roll the shock shaft to check its trueness.
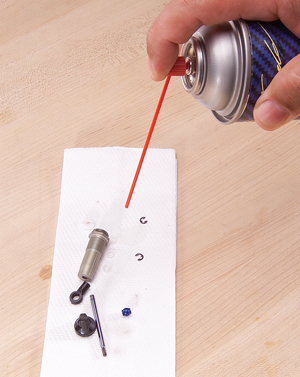
Employ motor spray or denatured alcohol to clean all the parts earlier reassembling the shocks.
Step iii: Install the pistons
For best functioning, the piston should not have whatsoever play betwixt the Eastward-clips. If there is play, y'all can shim the piston or slightly bend one of the E-clips to take up the slack.
The piston should not float betwixt the E-clips.
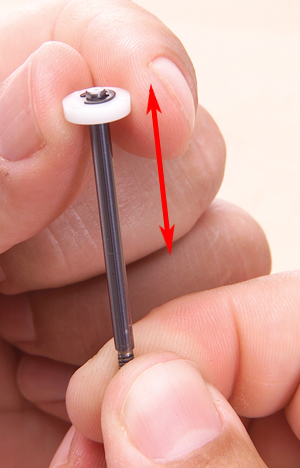
Step four: Install the seals
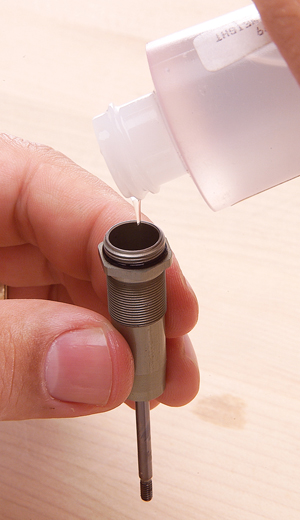
At the very least, coat the seals with shock fluid earlier you pop them into the cartridge (if you lot take Losi shocks) or load them into the shock body. For best performance, Associated'due south Factory Team Green Slime seal lube is the hot setup. Smear the green stuff over the seals, and the shocks will accept less stiction and grade a amend seal confronting the shafts. If the shock uses an O-band seal under the cap, install it now.
Lube the seals earlier you lot install them.
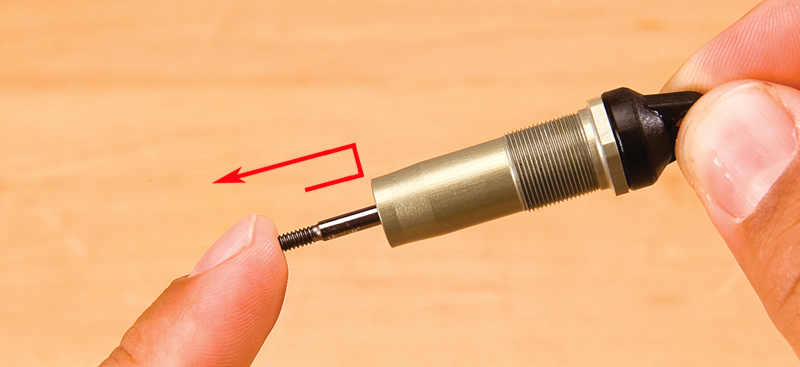
Footstep five: Install the piston/shaft assembly & make full the shock
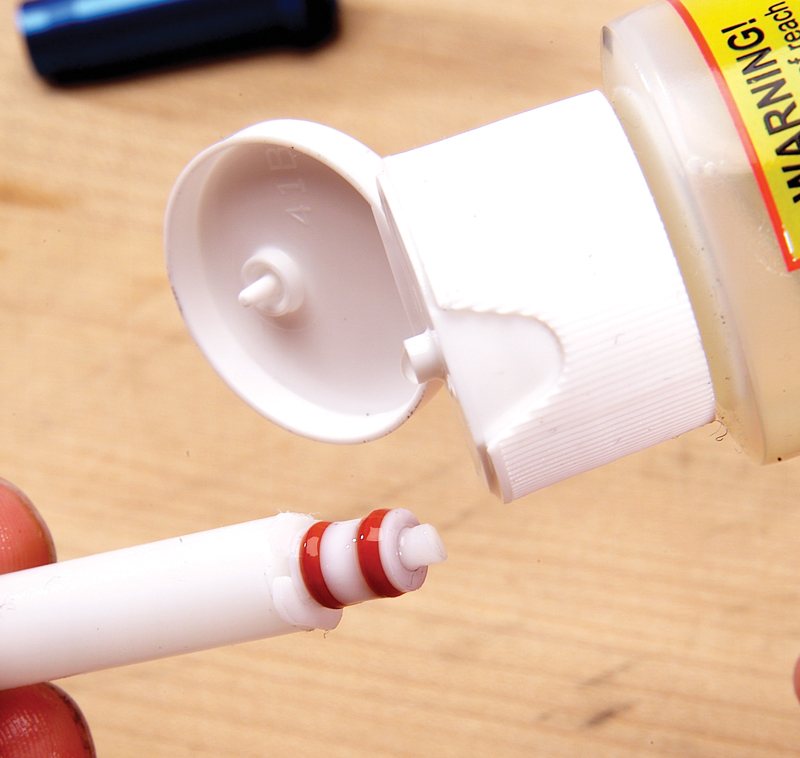
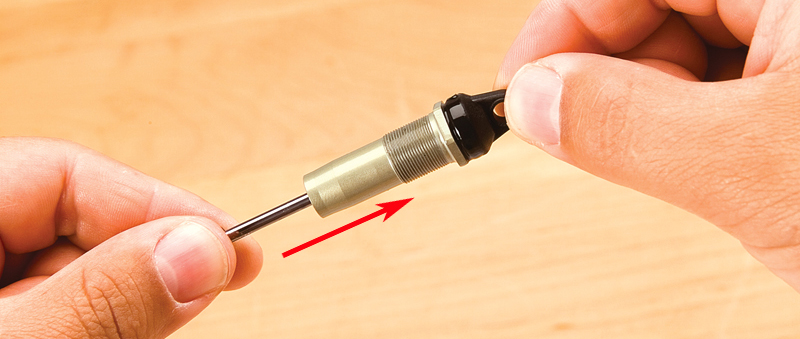
Make sure yous remember to reinstall whatsoever internal spacers, and lubricate the tip of the shaft before passing it through the seals. At present you lot're ready to fill the stupor. To fill up pinnacle-filled shocks (almost all not-Losi shocks), pull the shaft to total extension and then pour in the fluid until the shock is half-full. Release any trapped air bubbles past slowly twisting and raising the shock shaft. When all the bubbles have escaped, you can fill the rest of the shock. For Losi shocks, make full the trunk until the fluid reaches the threads.
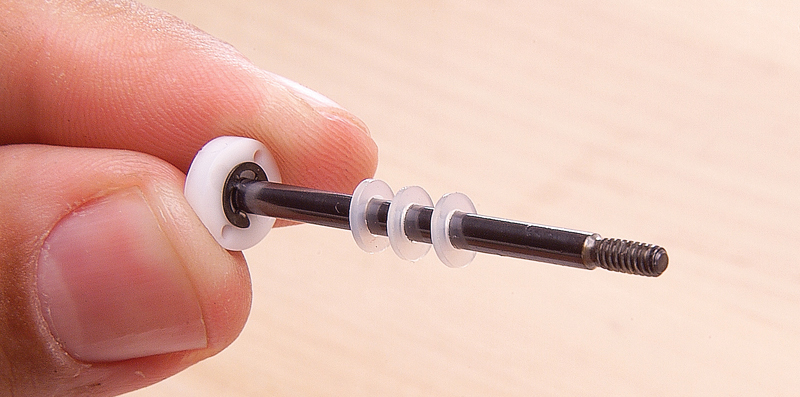
If your shocks accept spacers on the shafts, don't forget to reinstall them all.
Fill up halfway, release trapped air, and so pinnacle off.
Step half-dozen: Bleed the shocks
Fill up your top-filled shock until the fluid forms a dome; then spiral the cap on—but non completely. Leave it near "one plough" loose, and so compress the daze shaft to bleed out excess fluid (if fluid doesn't flow out and the shaft is hard to shrink, loosen the cap until fluid flows out). If y'all take Losi-manner shocks, thread the cartridge/piston/shaft assembly into the daze torso with the shaft fully extended, and so bleed the shock equally described for height-make full shocks.
Shrink the stupor to drain out excess oil. Piece of work over a rag so you lot don't mess up your new Hagar slacks.
Footstep 7: Test the shocks
With the cap or cartridge fully tightened, shrink the shaft. If you tin't compress it fully, or it'southward very difficult to compress at the end of its travel range, you need to bleed more fluid from the shock. Ideally, the stupor shaft should compress easily and and then extend itself about halfway when released.
The shaft should extend itself about halfway after compression.
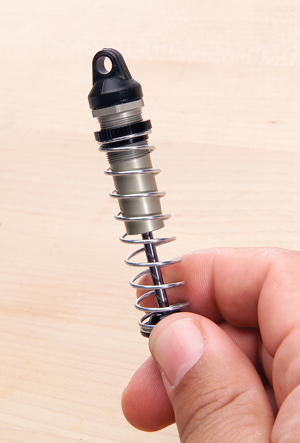
Stride 8: Reinstall the spring, preload collars, perch & rod terminate
That's information technology, the job is done; at present you tin practise it all again for the other three shocks!
Finished!

Source: https://www.rccaraction.com/how-to-rebuild-shocks/
Posted by: merkelhigend.blogspot.com
0 Response to "How To Repair Traxxas Shocks"
Post a Comment